Testing Popcorn Ceilings for Asbestos in Eight Easy Steps
If you ever plan on selling or having guests in your home – and you have a popcorn ceiling which was built, installed, or remodeled before 1980 – asbestos testing should be a priority. Even if you didn’t know that your ceiling contained this toxic substance, you could still be legally responsible for damages, even many decades after the victim was exposed.
Asbestos is Used in Construction of All Kinds
Floor tiles, outdoor siding, and popcorn ceilings frequently contain asbestos. Until the 1980s, most builders used this mineral in almost every construction project.
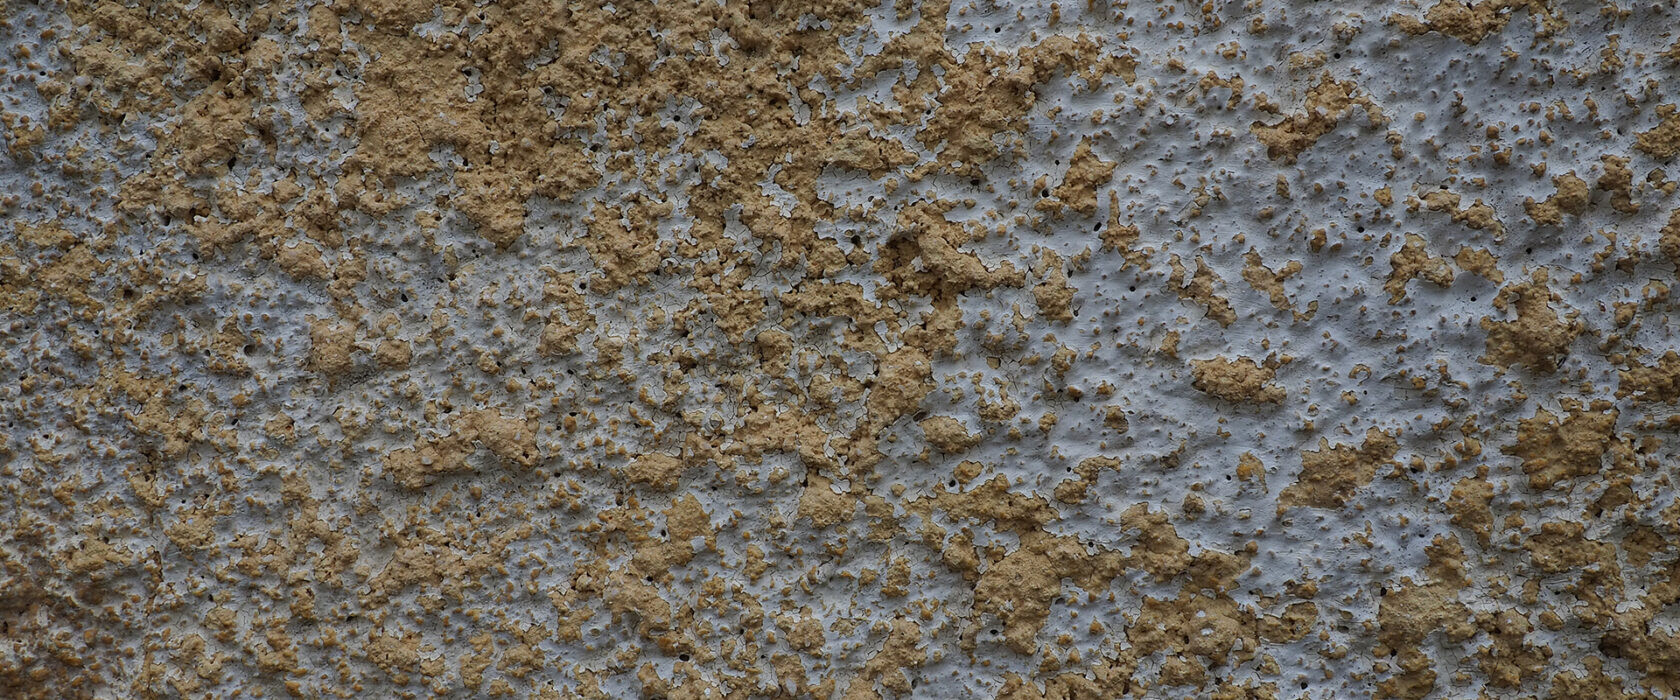
Asbestos Ceiling Tiles
Because they undergo so much wear and tear, homeowners should always test floor tiles and outdoor siding for asbestos. Ceilings don’t get as much wear and tear, unless Spider-Man is a regular dinner guest in your home. However, nothing built lasts forever.
A tiny crack in a popcorn ceiling poses a significant health risk.
Asbestos fibers are microscopic and have no taste or smell. You might not know you’re breathing them. But asbestos fibers get embedded in lungs and other bodily tissue, causing health problems like asbestosis and even cancers like mesothelioma.
Using a Professional Asbestos Testing Company
Before we get to the asbestos test steps, we should discuss a couple of points. First, for additional peace of mind, consider partnering with an onsite asbestos testing professional. An onsite professional obtains a more reliable sample and gets test results quicker.
Eight Steps to Test Your Popcorn Ceiling for Asbestos
Tools Needed To Test Your Home’s Popcorn Ceiling for Asbestos
|
|
1. Select an Undisturbed Area
This step usually isn’t a problem for ceiling testing. Most people don’t wash the ceilings. The test area should be somewhat dusty. If the ceiling is cracked anywhere, surface dust could be laced with asbestos. If you are testing floors for asbestos, an out-of-the-way corner is usually the best test site.
2. Protect Yourself Using a Professional Asbestos Testing Company
We mentioned protective clothing above. If you can feel air on any part of your skin, you are not adequately protected. Tiny asbestos fibers can absorb directly through skin. Additionally, now is no time to be financially stingy. Asbestos particles can also float through small gaps in cheap plastic coveralls. On a related note, as a precaution, don’t allow any unprotected people in the house, or at least in the room, for the duration of the test.
3. Seal the Test Area
Saturate the air and the ceiling with the spray bottle. Then, to catch any dust, use the putty to secure plastic sheets to the ceiling. The sheets don’t need to be flush against the ceiling. A three or four-inch gap is okay.
4. Carefully (And We Mean Carefully) Extract a Ceiling Sample
Work in slow motion as you cut about a five-gram piece off the ceiling. Five grams is about a teaspoon. Working slowly helps ensure that you don’t kick up dust. For good measure, keep using the spray bottle. Having another person using the bottle so you can concentrate on cutting might be a good idea, as long as that person is fully protected.
5. Place the Sample in a Ziplock Bag
Put a wet wipe between the pliar blades. Then, use the pliers to bag the sample. Put the used wet wipe in the bag as well. Don’t touch the sample, even if you’re wearing gloves. Asbestos fibers could rub off on your gloves and they won’t be counted.
6. Label the Bag
Use the permanent marker to record the location, date, and description of the sample. You could also label the bag much earlier, before you start, or much later, after you clean up. Then, put the sealed bag into another sealed bag. Better safe than sorry. Then, set the sample aside for the moment.
7. Paint the Tested Area
Apply a thick coat of paint to the tested area. The thicker the paint, the less dust escapes into the air. Maybe add a little stucco to the ceiling to blend it. Always remember to work in slow motion. After painting, toss the brush into a garbage bag. Throwing out unused paint might be a good idea as well.
8. Cleaning and Follow-Up
Carefully take the plastic off the ceiling, fold it, and place it into a garbage bag. Do the same with all your clothes. Vacuum the area and throw away the canister or dust. If the paint is dry, give the test area another once over with a wet wipe. Then, you guessed it, throw away the wet wipe. As soon as possible, send the sample to a laboratory. Even though the sample is sealed, you don’t want a potential asbestos hazard in the open any longer than necessary.